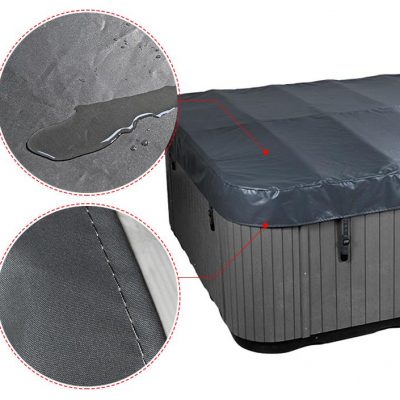
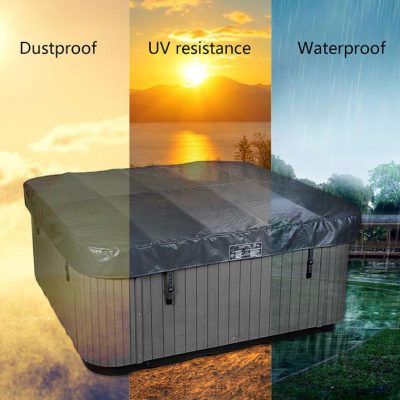
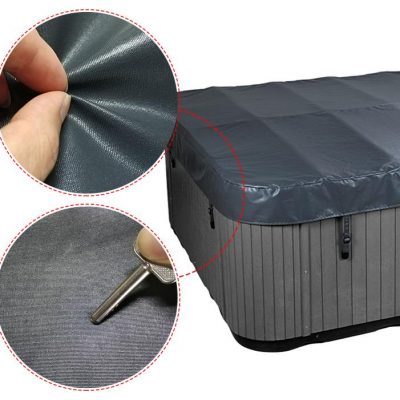
- Each bracket is pre-assembled here and is ready for attachment to your swim spa.
- The Cover Shelf assemblies are to be attached to the end of the swim spa where you desire the rolled EZ swim spa Cover to be stored while the spa is in use. You will have to determine the strongest location on the swim spa skirt onto which to mount the Cover Shelf brackets. Once the attachment location is decided, then you should align the top of the horizontal support arm with the top of the spa shell and attach the brackets to the skirt.
EZ swim spa cover Gen 2
Cover shelf Installation Instructions
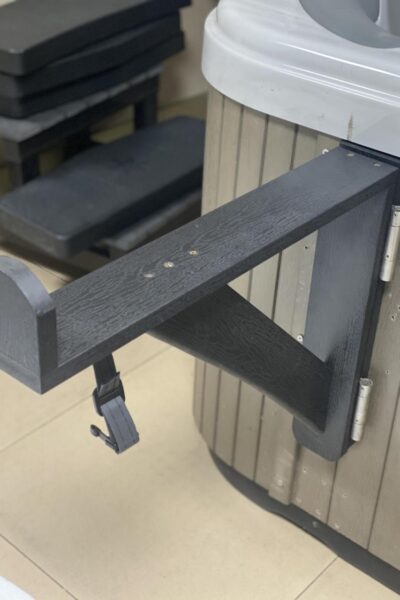
General Installation Information using EZ cover cradle:
Special Notes Regarding Installation:
INSTALLATION INSTRUCTIONS
1. Position the EZ swim spa roll on cover on the spa/swim spa. Unroll the EZ swim spa cover and open it until it lays all flat on the spa/swim spa.
2. Roll up the cover from the opposite direction of where it was rolled previously, in order to make the whole structure stand up straight.
3. With two people standing at both ends of the EZ swim spa roll on cover, pull the two Safety Straps, positioned at each end at the same time, until the EZ swim spa roll on cover becomes smooth and fits the entire spa/swim spa perfectly.
4. Installing cover clips: Pull the strap tightly downward, then press the Buckle against the spa/swim spa cabinet.
5. While holding the buckle against the cabinet, release the strap from the buckle, and mark the three mounting locations onto the cabinet.
6. Use the supplied screws to secure all the clips onto the cabinet.
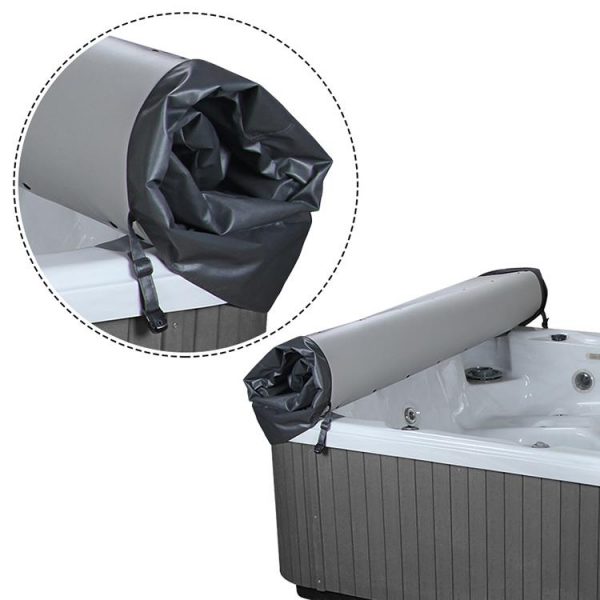
EZ swim spa covers are not responsible for damage or injury resulting from improper installation/use of the Cover Shelf. As ever, use your best judgement when deciding how best to install the Cover Shelf; the specifics of its application will be unique to your particular setup.
Use & Maintenance Instructions:
The following points must be understood and followed for your EZ swim spa cover to function as designed.
Heat Seal:
To help ensure a proper heat seal, please remember that when the EZ swim spa Cover is in the closed position, the cover’s end-straps must be pulled and latched down tightly for the heat seal and the domed effect to function as designed.
Maintenance:
MAINTENANCE OF THE EZ SWIM SPA COVER
- Always unfasten all the clips before opening the roll on cover.
- Avoid excessive pulling of the roll on cover to protect threads from tearing.
- Gently roll the EZ Swim Spa roll on Cover open.
- We recommend occasionally rolling it in the opposite direction to keep the cover rods straight.
- Always fasten all straps when the EZ Swim Spa roll on cover is not in use, this is required to ensure water runoff. Avoid water build up by removing residual water.
- Do not sit, walk, or lay on the EZ Swim Spa Cover.
- Keep the EZ Swim Spa roll on cover clean.
- Remove leaves or debris with a soft brush to avoid colour leaching.
- A spray with a garden hose will help remove accumulated dirt.
- Use a mild detergent and water solution to clean the outer fabric on a regular basis
- The underside of the cover should be wiped down regularly with an all-natural / all-purpose cleaner.
- Use a waterproofing agent every 3 months to protect the cover against UV damage. Failure to do so can void warranty. (303 Protectant is recommended)
- Maintain proper spa water chemistry.
- Always open the EZ Swim Spa roll on cover when adding chemicals.
- Any texture change or extreme discoloration of bottom material can indicate chemical overuse.
- Avoid scraping the EZ Swim Spa Cover on rough surfaces.
- By following these simple guidelines you should enjoy many years of simple user friendly cover removal with the EZ Swim Spa roll on cover.
Delivery Steps
At EZ swim spa covers we package the cover to arrive in pristine conditions.
Despite these precautions, freight damage is still possible.
Although damage occurs very few of our shipments, you, the customer, are responsible for noting this in writing with the driver at the time of delivery.
Please inspect the package thoroughly before signing the shipper’s receipt.
Note: If any freight damage HAS occurred, and the contents appear to have been harmed, take pictures of the damage and refuse the delivery – do NOT sign for the cover.


